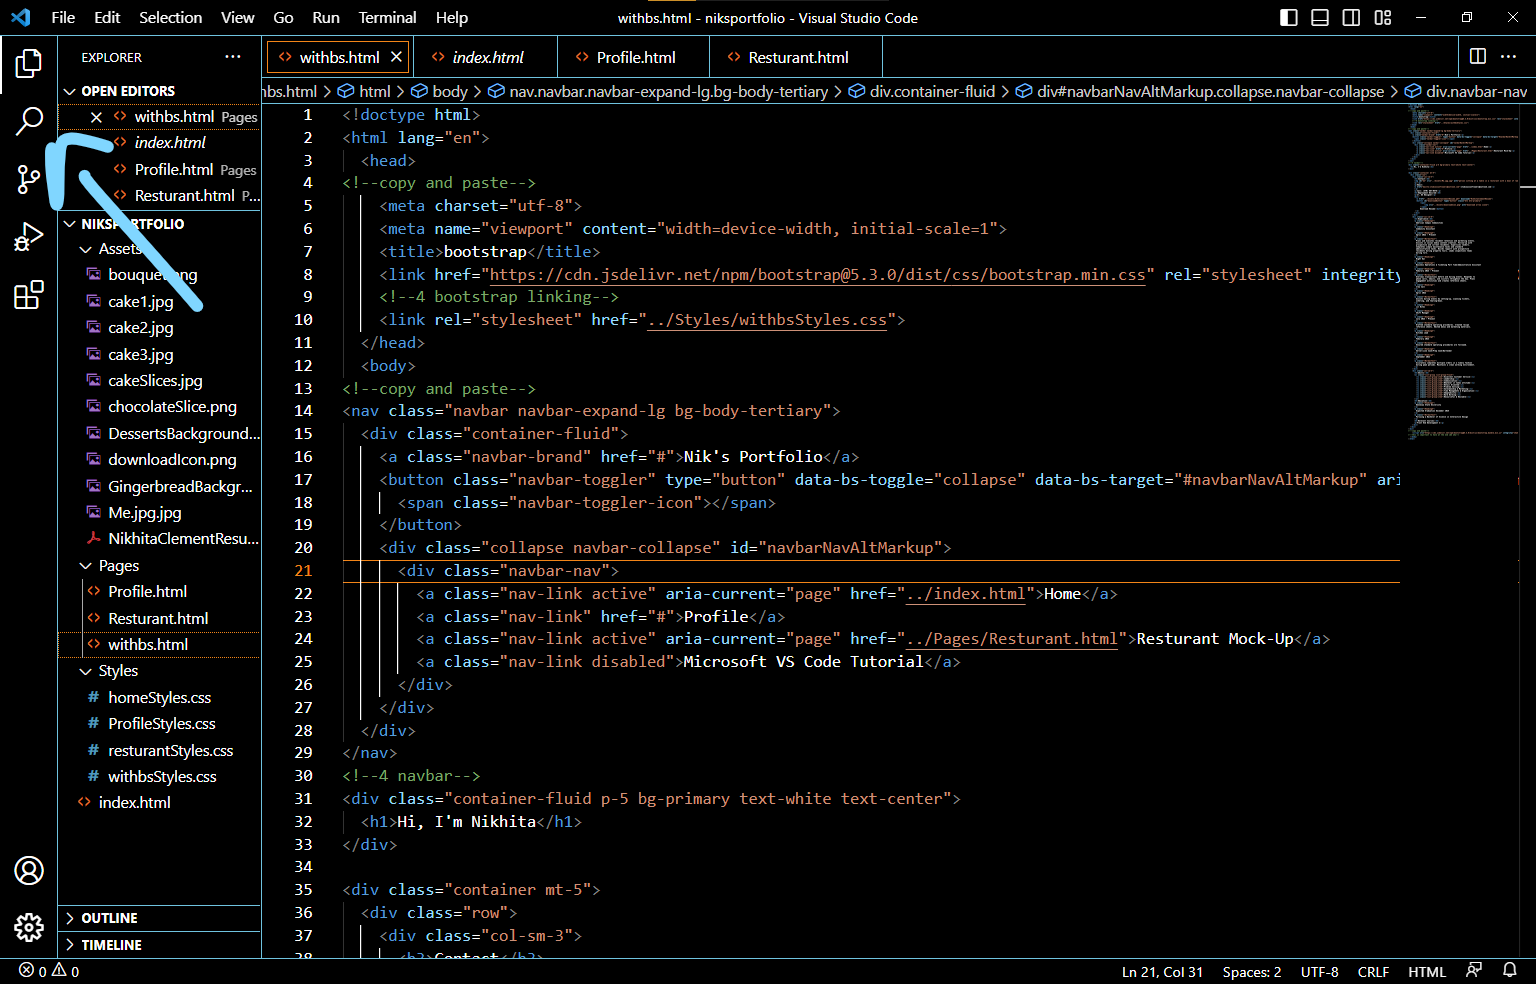
Select the magnifying glass icon or press (Ctrl+Chift+F)
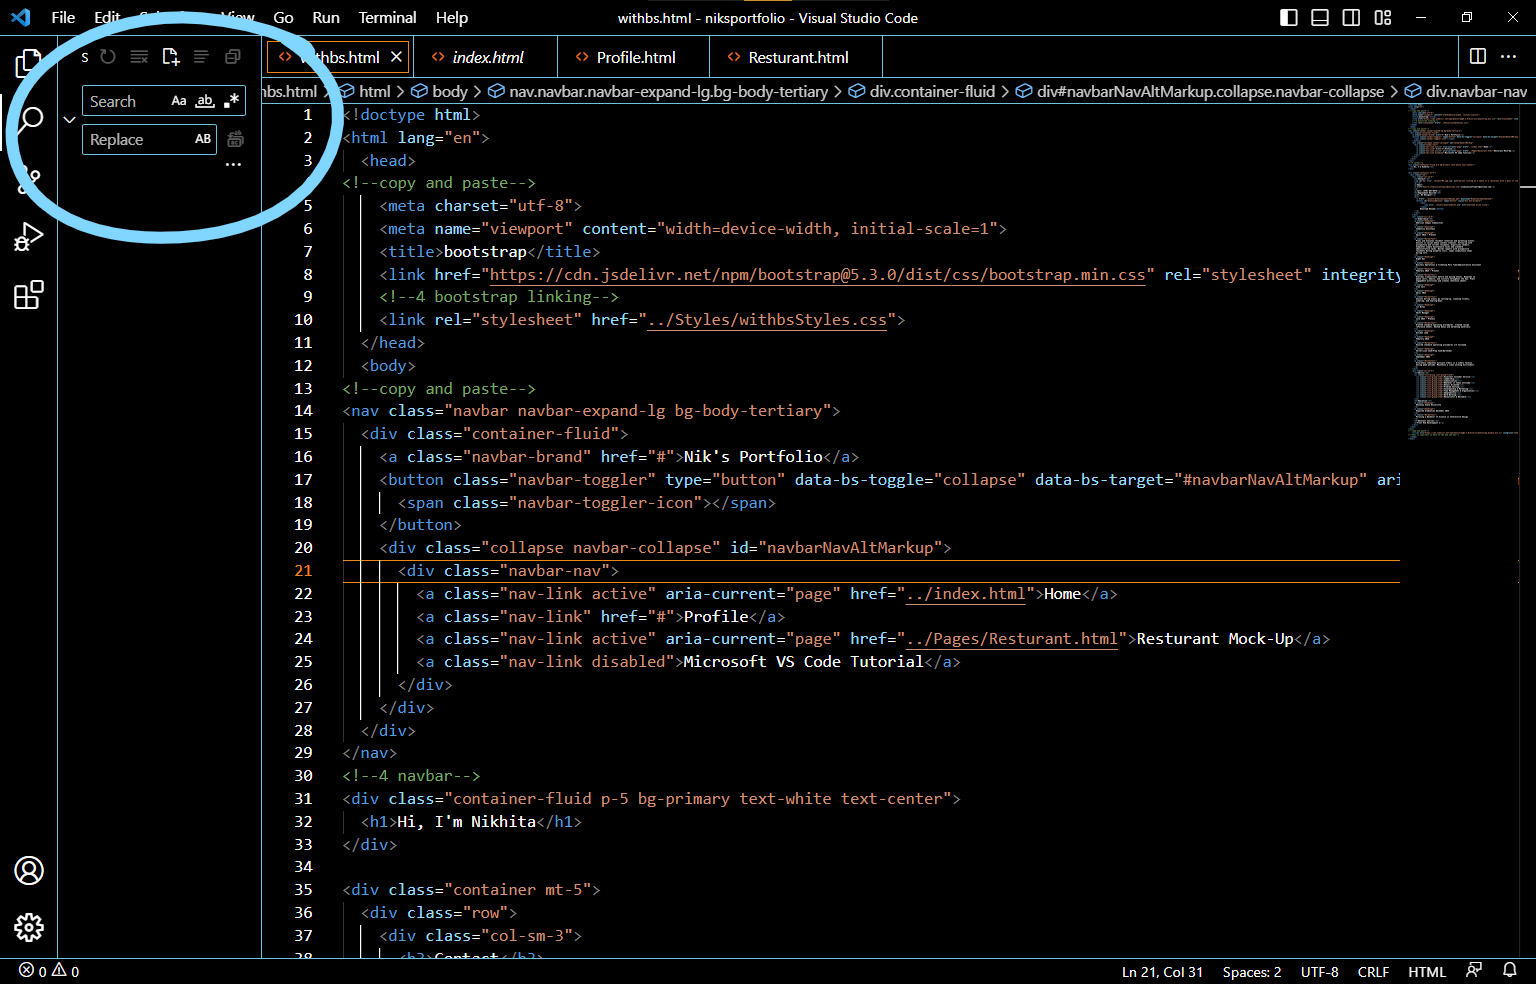
The search panel should appear on the left side of the page. Here you will type your search term in the text box labeled "Search". You can select the "Aa" icon to match case in your search term or the "ab" underlined icon to match the whole word. The > icon can be used to unhide the "Replace" text box.
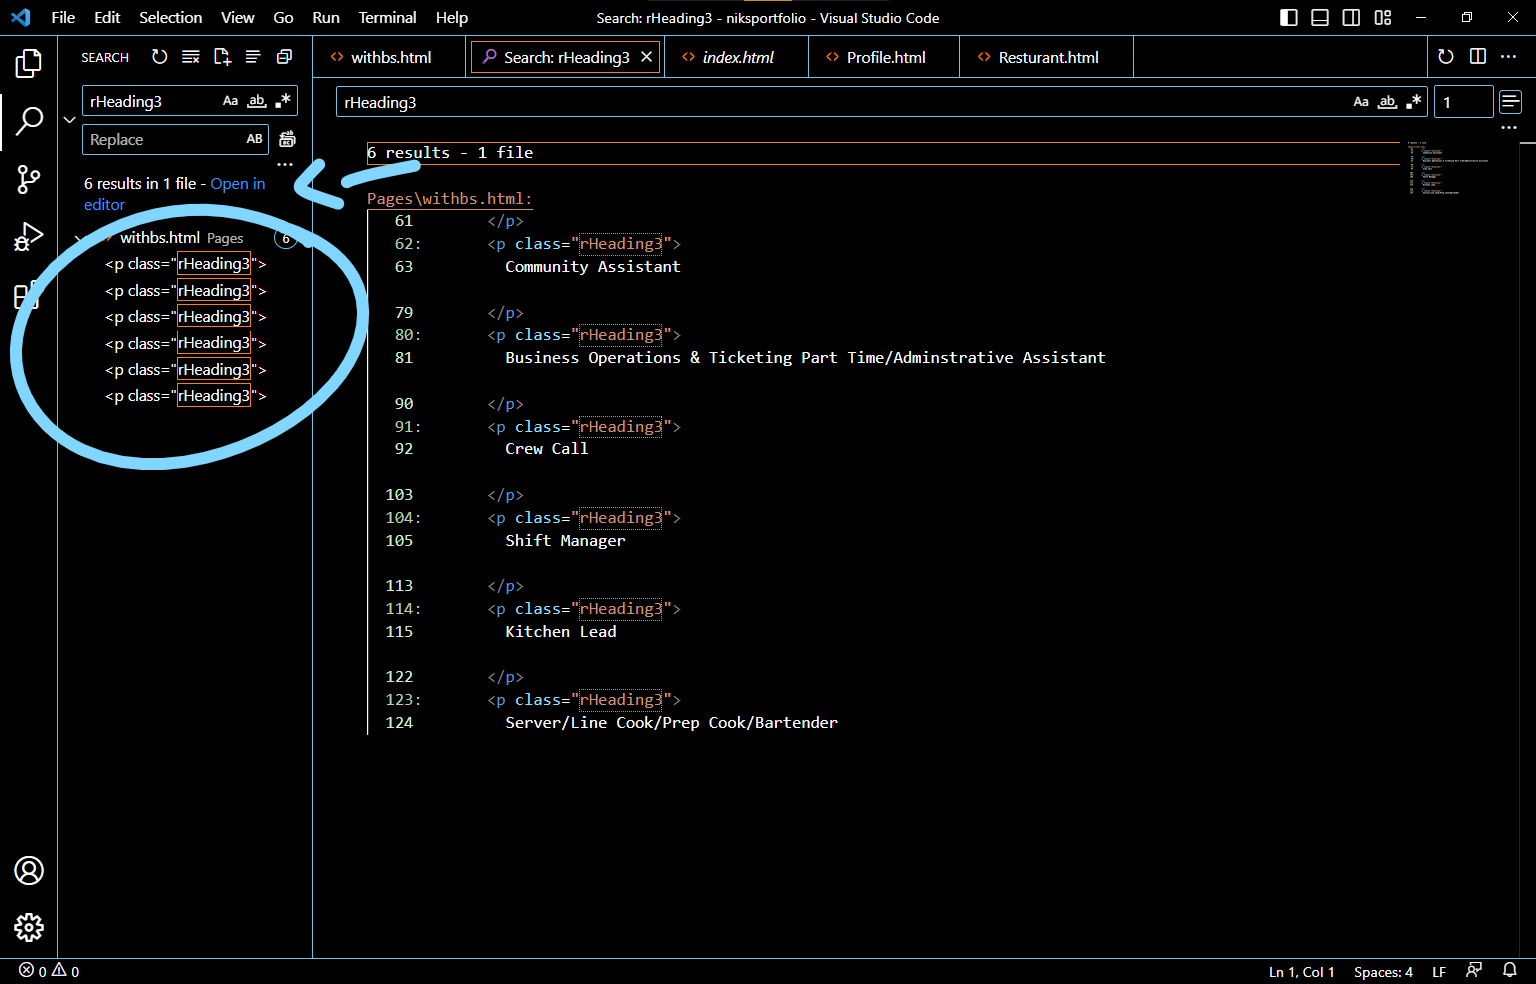
After typing in your term, you should see a list with all found instances of that term (circled). You should also see how many results were found along with a link to open in editor (arrow). Selecting open in editor will bring up the editor tab seen on the right. You may also click the refresh icon in the top of the search panel to refresh results. The icon with multiple horizontal items and an x will clear all results and reset your search panel to step 2. The two overlapping squares icon with a plus sign will collapse all your results by file.
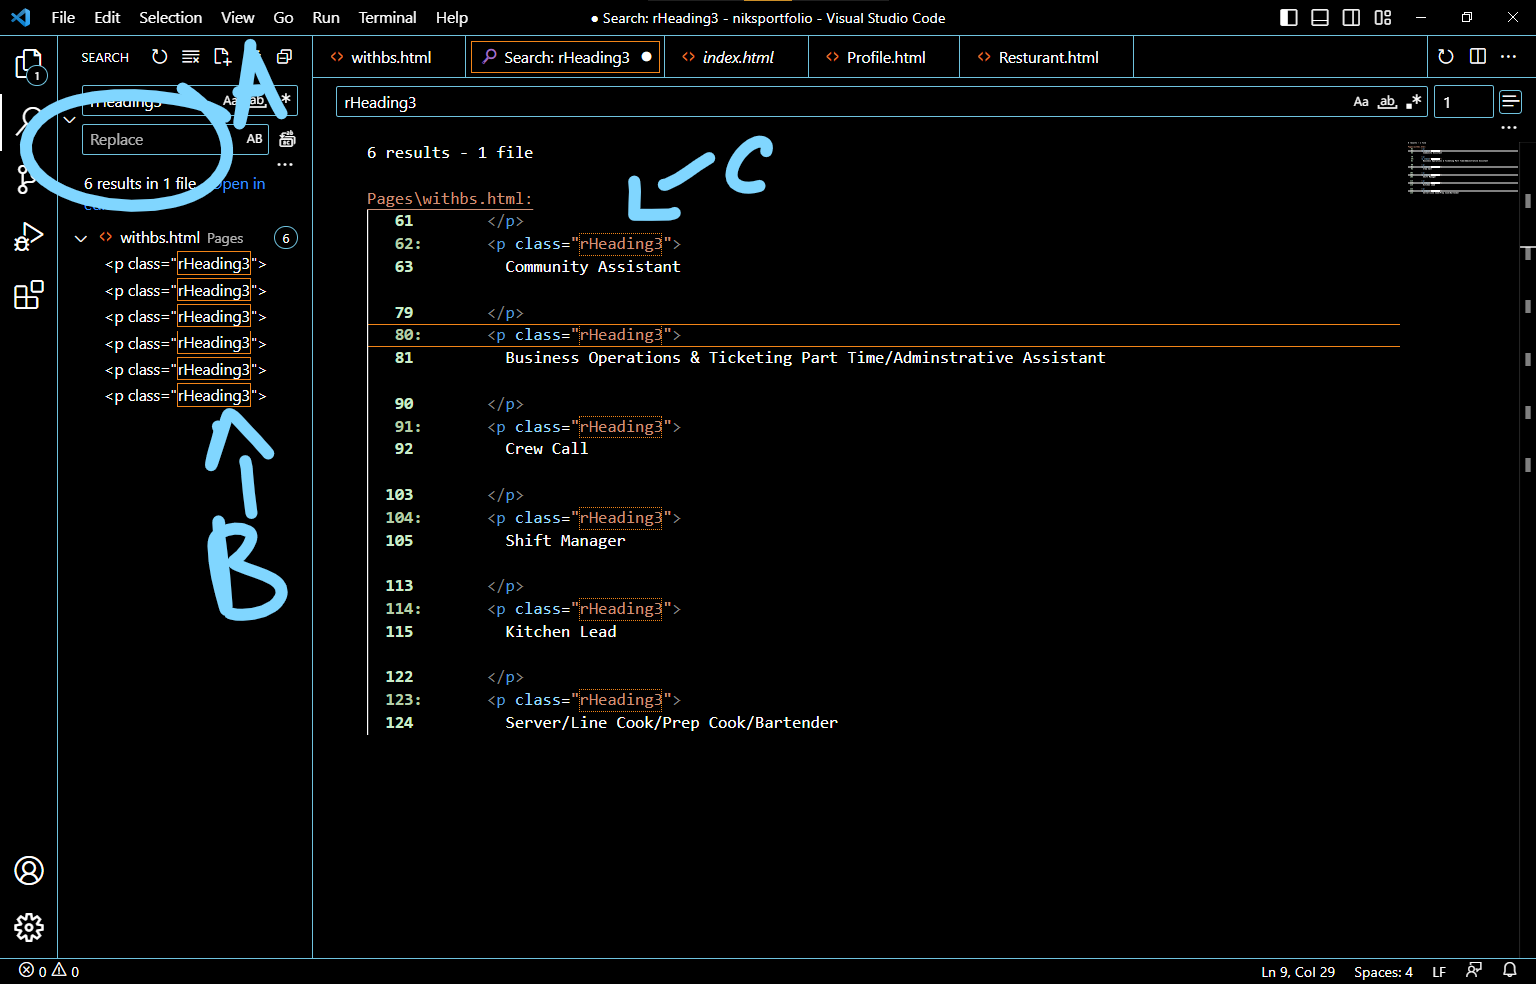
Here you have three options to replace the term you searched for with a new term. Option A will replace all instances with the new term. Option B will allow you to select with instances to replace. Option C allows you to directly edit each instance in the editor.
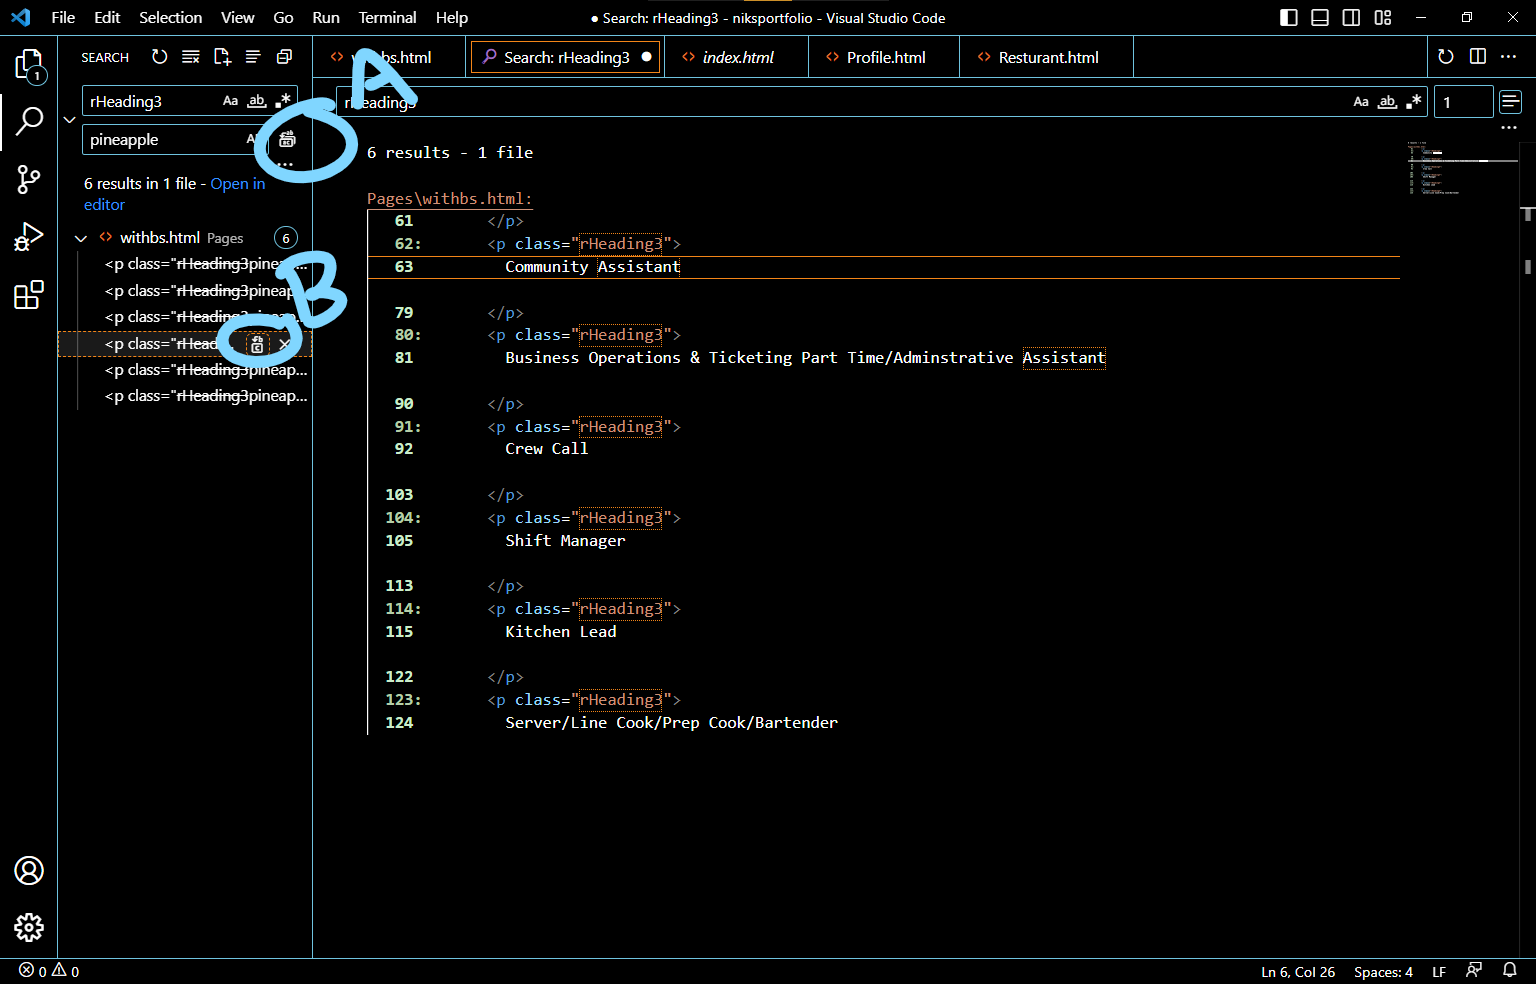
For replacing in Option A you should select the icon to the right of the AB icon or press (Ctrl+Alt+Enter). For option B you should select the icon to the left of the "X" icon.